
Davenport IA Epoxy Flooring has installed epoxy garage floors for 20+ years in Davenport, IA, serving surrounding cities including Eldridge, Rock Island, Bettendorf, Moline and Milan. A garage floor here takes more abuse than most rooms in the house: wet tires, road brine, dropped tools, leaking oil and months of freezing nights. We build each one as a multi-coat system on a ground slab, so it stays bonded through all of that rather than peeling in the tire lanes after a winter or two.
The work starts before any resin is mixed. We map the cracks, spalls, oil spots and any old paint, and a moisture test is part of every garage quote before the price is set. The written proposal names the surface profile we will grind to, the product line, how many coats go down and the finished thickness, so you know exactly what is being built and can check it on the finished floor.
We install flake epoxy, solid color and metallic garage floors, most finished with a polyaspartic or polyurea topcoat that stays clear in sunlight. Grinding dust is pulled into a vacuum at the machine, the house door is sealed off, and nothing is washed toward the floor drain or the street. The sections below cover what goes into the floor, what we fix before coating, and how the install runs from first visit to parking the car.
What Goes Into an Epoxy Garage Floor System
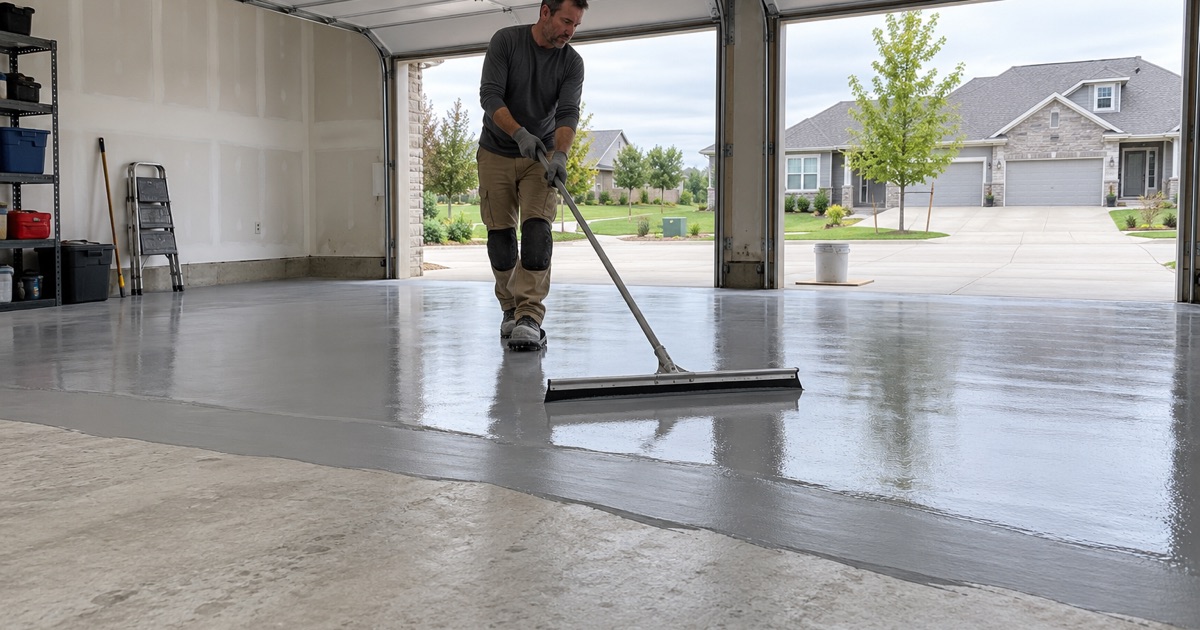
Ground Concrete and a Penetrating Primer
The bond of the whole floor depends on the first layer, so the slab is diamond ground or shot blasted to an ICRI concrete surface profile, usually in the CSP 2 to 3 range for a garage. That removes laitance, old sealer and surface contamination and leaves a texture the primer can grip. An acid etch cannot do the same job, because it leaves residue and a weak top layer behind.
The primer goes on thin so it soaks into the open pores of the slab and locks in place. Where the moisture test runs high, a moisture-mitigation primer takes its place, so vapor coming up from the ground does not push the coating off from underneath.
The 100% Solids Epoxy Body Coat
The body coat is where the floor gets its thickness and impact resistance. We use 100% solids epoxy rather than water-based products, which means nearly everything rolled on stays on the floor instead of evaporating away. A thicker body coat absorbs the shock of a dropped wrench or a jack stand and bridges the small surface defects that would telegraph through a thin coating.
On flake floors, vinyl chips are broadcast into the wet body coat until the surface is fully covered. After cure, the loose chips are scraped and vacuumed, leaving a textured layer locked into the resin and ready for the clear coat.
Polyaspartic Topcoats for Salt and Sunlight
The topcoat is the wear surface, so it has to stand up to tires, salt and UV coming in the open door. Polyaspartic and polyurea topcoats resist abrasion and chemicals and do not amber the way many epoxies do in sunlight. They also seal the flake layer so it cleans like a smooth floor rather than trapping grit.
For garages that see heavy winter traffic, we can add a fine anti-slip aggregate to the final coat. It gives shoes some grip on melting slush without making the floor hard to mop or squeegee.
Garage Slab Problems We Fix Before Coating
Salt Scaling and Pitted Tire Lanes
Brine and rock salt from Iowa winter roads soak into bare garage concrete, and repeated freezing pops the top layer off in flakes. Many older garages in the area show that scaling along the tire paths and near the door. We grind the damaged surface back to sound concrete and fill the pits with an epoxy repair mortar so the body coat goes down over a level, solid base.
Once the floor is sealed, salt water stays on top where you can squeegee or rinse it out. That protection is the main reason many garage owners here coat their floors in the first place.
Cracks, Control Joints and Spalled Edges
Shrinkage cracks are opened with a crack chaser and filled with a rigid or semi-rigid filler, depending on whether they are still moving. Spalled edges along control joints and at the apron are rebuilt so the coating does not bridge a hollow edge that will break later. Control joints themselves can be filled for a smooth look or honored so the slab can still move.
If the slab has heaved, sunk or broken into pieces that shift under a car, we will say so plainly. Coating a moving slab only paints over a structural problem, and the floor will crack again along the same lines.
Moisture Under a Newer Garage Slab
The residential code allows an exception under IRC R506.2.3 that lets a garage slab skip the vapor retarder required under heated living space. As a result, a fairly new garage can move more moisture than a homeowner expects. We start with an ASTM D4263 plastic sheet test and move to calcium chloride or in-situ relative humidity testing when the slab looks suspect.
The result decides the primer and sometimes the season. A garage that tests high gets a moisture-mitigation primer or a later install date, rather than a coating that blisters within the first year.
Our Step-by-Step Epoxy Garage Floor Process
Step 1: Walk-Through and Written Proposal
We look at the slab, take moisture readings, note every crack and stain, and talk through colors, flake blends and how you use the garage. The proposal lists the surface profile, product line, coat count, finished thickness and any repair work. It also spells out what the coating warranty excludes, beginning with moisture vapor transmission and hydrostatic pressure.
Step 2: Grinding, Dust Capture and Repairs
On install day the garage is masked, the house door is sealed, and the slab is ground with dust captured at the machine. Cracks and spalls are filled, oil-soaked spots are treated, and the surface is vacuumed clean. Edges along walls and around posts are hand-ground so the coating bonds right to the perimeter.
Step 3: Primer, Body Coat and Broadcast
The primer and body coat go down once slab temperature and the dew point spread at the surface are within the product’s limits. On flake floors, chips are broadcast to full coverage while the body coat is wet. We check the readings again before every coat, because a cold, damp slab can leave amine blush that weakens the next layer.
Step 4: Scrape, Topcoat and Cure
After the base cures, loose flake is scraped and removed and the clear topcoat is rolled on. Foot traffic is usually allowed within a day, but cars wait until the product reaches the cure the manufacturer sets for that temperature. We give you a specific date to park rather than a guess.
Step 5: Final Check Against the Quote
Before we leave, we walk the floor with you and confirm the finish, the edges and the drain transitions. You get care instructions and the product details for your records, so the floor you received can be checked against the proposal you signed.
Living With a Coated Garage Floor
Winter Care in a Salt-Belt Garage
During the salt months, squeegee meltwater toward the drain or the door and rinse the floor now and then so salt residue does not dry into a film. A coated floor makes that a few minutes of work rather than a scrub. Rubber mats under the tires are optional, but they should be breathable so water does not sit trapped under them.
Hot Tires and Heavy Vehicles
A properly built floor will not lift under warm tires, because the full-build body coat and topcoat are bonded to ground concrete rather than sitting on an etched surface. For heavier trucks, trailers and lifts, we increase the body coat thickness and use plates under jack stands and lift posts to spread the load.
- 20+ Years in Business
- Moisture Tested Before Pricing
- Free Written Estimates